# Quick Start
Follow the steps below to sign up for PHP-Prefixer, create a project on the Dashboard, upload a ZIP file, and build your first prefixed codebase:
INFO
In this guide, we assume that you are starting the creation of the project with the 14-day free trial or the Developer subscription.
# Sign up
Go to https://php-prefixer.com/register (opens new window) and create your account.
# Create a Project
- In the Dashboard, click “Projects,”
- Click on “Create Project,”
- Type in a name for your project,
- Select a “Source Code Integration” from the dropdown menu. For this first guide, select the “File” integration to upload and download the project files manually,
- Click “Create Project.”

Congratulations, you’ve created your first project!
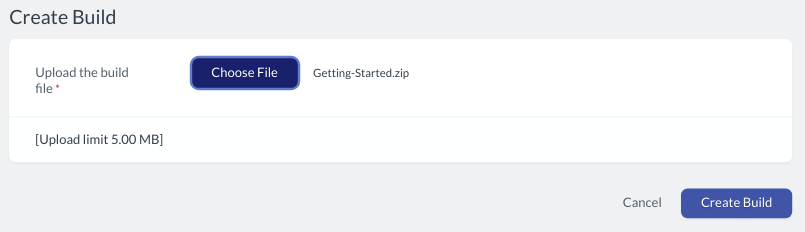
# Create a Build
Now, set up a new Build and prefix the project in the "Dashboard/ Projects” area in a matter of minutes. Follow the steps below to set up a Build and prefix the project ZIP file.
- In the “Project,” click on “Create Build,”
- Select the file to be prefixed,
- Upload and create the Build, and
- Click on “Create Build.”
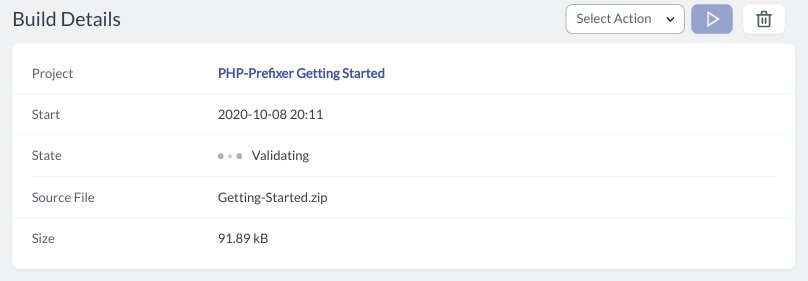
# Validate the Build
Once the Build is created, the PHP-Prefixer service automatically validates the project and continues with the next steps.
# Prefix the Build
Once the Build is validated, the PHP-Prefixer service prefixes the files and notifies when the processing is completed.
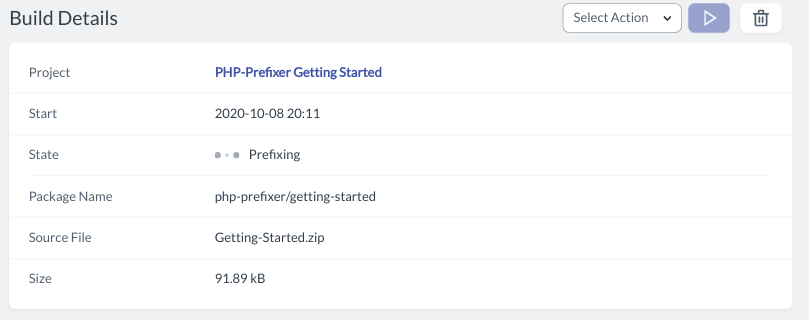
Congratulations, you’ve prefixed your first project!
# Download and Review the Prefixed Codebase
When the build is ready, check the processing results in the Build Details:
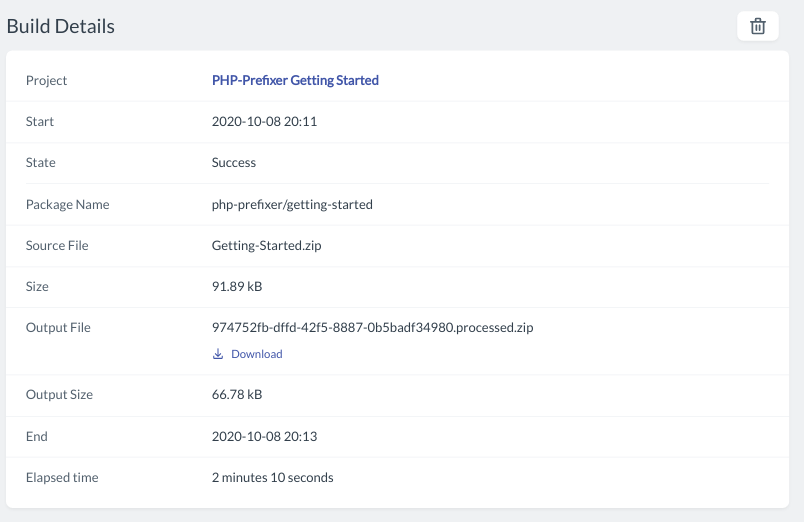
Download the Output File and uncompress it to review the final results.
In the next chapter, we point out the main results of processing.